What is a LUT?
A LUT (short for Color Lookup Table), is a small file used to describe an array of numbers that provide a shortcut for a specific computation. In the world of Color Grading, a LUT transforms color input values (footage from camera) to your desired output values (final footage/video).
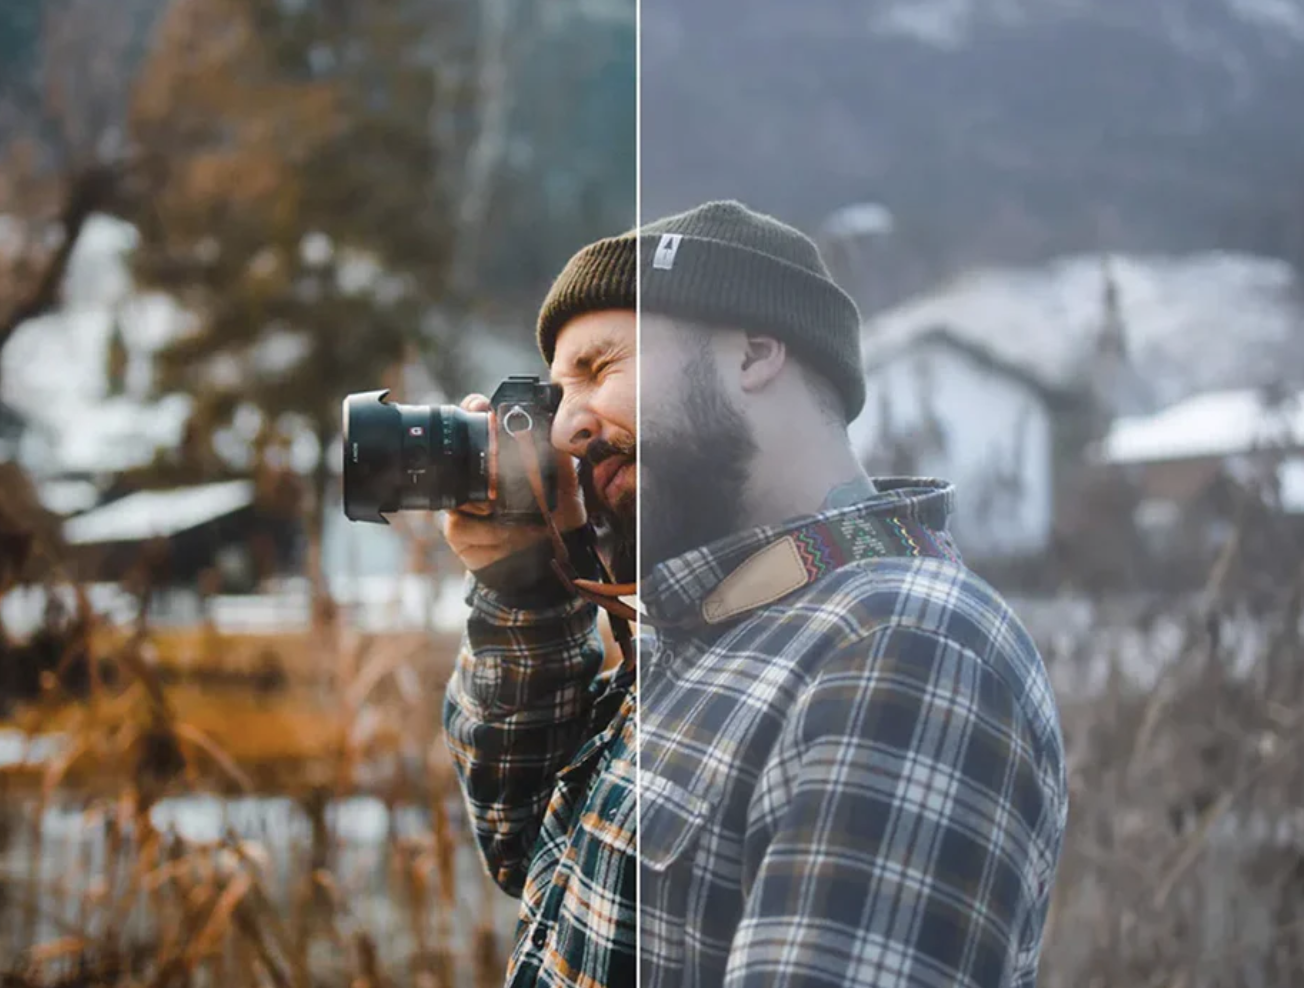
To be less technical: LUTs can transform your flat or ungraded footage into cinematic looking, color graded videos. It changes the hue, saturation and luminance of your video so it looks finalized and finished.
And if that’s still too complex for you: LUTs can basically be seen as Video filters (Like Lightroom Filters for photos).
I created a bundle containing my best Cinematic LUTs for different cameras like Canon, Sony or Panasonic – It helped over 40,000 aspiring filmmakers worldwide to get the film look with just a few clicks. You can get the pack in my store 👇🏼
How to use a LUT?
You can use LUTs in almost every Video editing software like Adobe Premiere Pro, Final Cut Pro X or DaVinci Resolve or any other program that supports 3D .cube files. In most programs you can do so by adding a LUT Effect to your clip and then add the .cube LUT to your footage.
You can largely improve your videos quality, aesthetics and color while also saving a lot of time at color grading your videos if you learn how to use a LUT correctly.

Using LUTs in Final Cut Pro X
If you want to use LUTs in Final Cut Pro you need to search for CUSTOM LUT within the Effects tab and drag it over onto your clip or adjustment layer. FCPX does not include native adjustment layers but don’t worry. You can download my FREE ADJUSTMENT LAYERS for Final Cut Pro X.
After applying the effect you can find the Custom LUT tab within the Video Inspector as shown above. There you can select your LUT and change the color space as well as the Mix which is basically the intensity of your LUT. For example: If your image is too contrasty, lower the Mix to 70% to decrease the LUT intensity.

Using LUTs in Premiere Pro
In Adobe Premiere Pro it’s even easier to apply a LUT to your footage. Simply select the clip or adjustment layer in your timeline that you want to add your look to and click on the COLOR TAB in the upper menu. This opens up LUMETRI COLOR on the right side of the program which lets you change all kinds of settings for color grading your videos.
If you want to add a stylized look you should select your .cube LUT in the CREATIVE TAB under LOOK. If you first need to convert your footage to the Rec.709 color space (for example if your footage is shot in a flat picture profile like LOG) you should add your conversion LUT to the BASIC CORRECTION.

Understanding Color Space & Picture Profiles
Most new mirrorless cameras have the ability to shoot video in a flat picture profile like LOG, Cinestyle or HLG. If this source-footage is looked at without further Color Grading it looks really flat or “washed out”. The reason for this is that the internal data of the camera (things like saturation, shadows, mids & highlights) needs to be as neutral as possible to give us the most dynamic range to prevent highlights to be blown out or colors to fall apart and bend.

Best mirrorless camera for Video?
In my opinion almost every camera nowadays can be a powerful tool to record professional video. My first camera when I started with Youtube four years ago was a Sony a6300 – A small mirrorless camera that let me shoot beautiful 4K Video. Later I got myself the Sony A7III – My first full frame camera that helped me to realize a lot of projects for Youtube and clients like Jeep, Jack Wolfskin or BMW.
Over the years I tried several other camera brands like Nikon, Panasonic or Blackmagic Design while searching for my personal perfect setup. In the end for me it was the Canon EOS R5 that suits my needs better than any other camera. But let me tell you: All of the cameras out there can turn an idea into a masterpiece. It’s really not about the specs but about knowing how to get the most out of your camera and tell stories that touch.


